Module 3 • Lesson 1🧑🎨 Skin & Frequency Separation
The technique that separates a snapshot from a professional portrait. Frequency separation lets you even out skin tone and clean up blemishes while leaving real skin texture untouched — so the result looks retouched, never plastic.
📚 What You'll Learn
By the end of this lesson, you will be able to:
- Explain what frequency separation splits an image into and why it matters
- Build a correct low-frequency (tone/color) and high-frequency (texture) pair
- Even out blotchy skin on the low layer without smearing pores
- Remove a blemish on the high layer without leaving a soft patch
- Know when frequency separation is the wrong tool
⏱️ Estimated Time: 55 minutes
🎯 Project: Retouch one portrait's skin so tone is even and blemishes are gone, while a 100% zoom still shows genuine pores.
In This Lesson
👤 The Goal: Even Tone, Real Texture
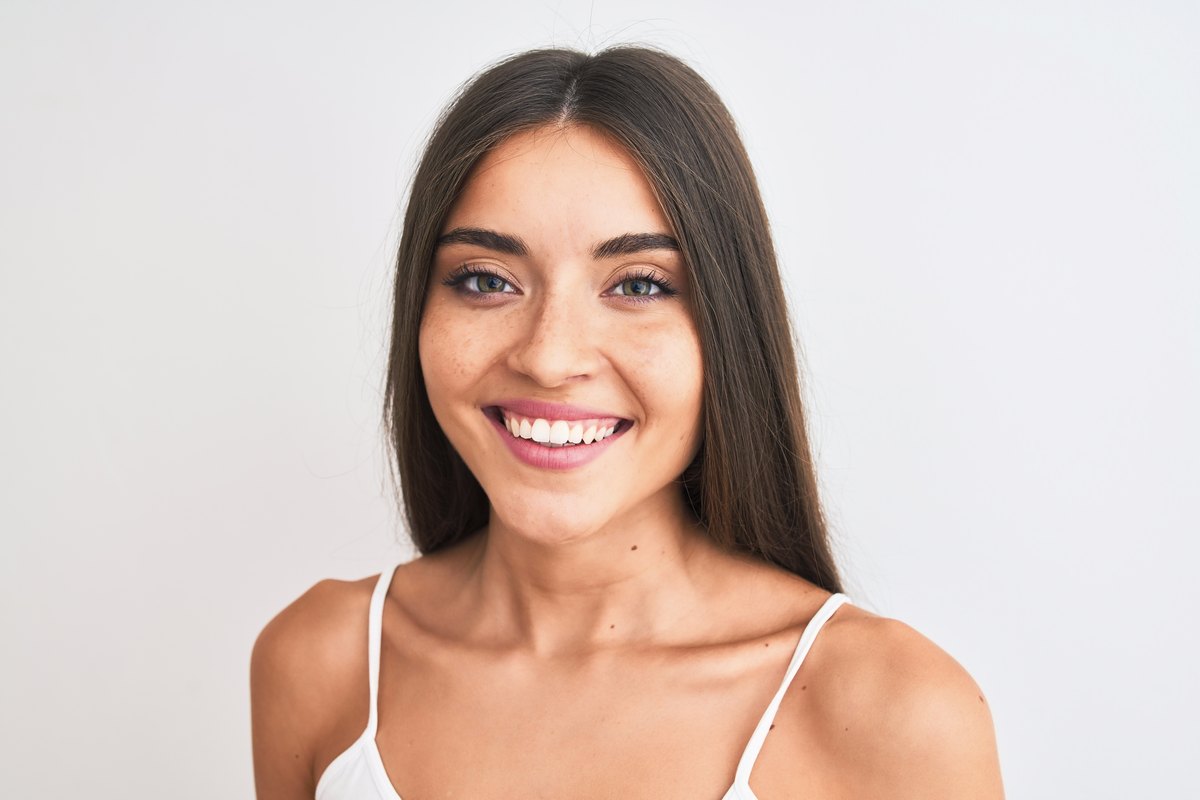
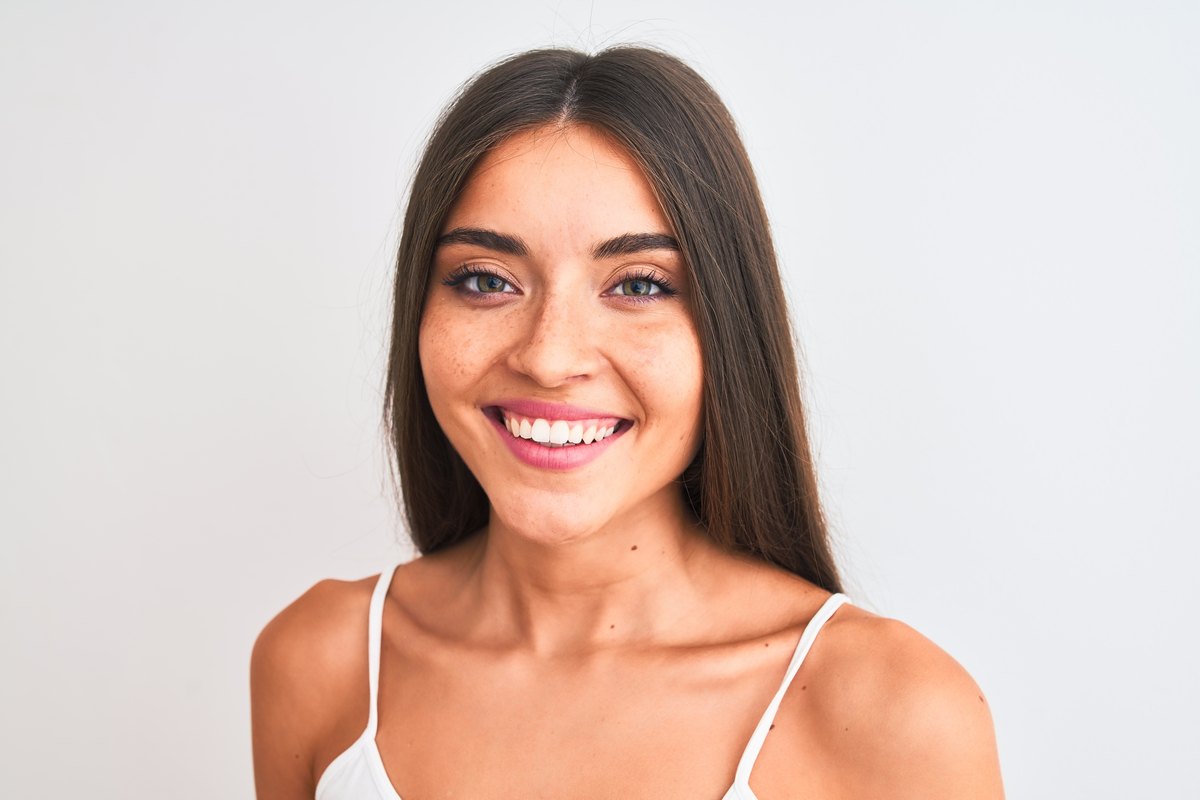
On the right, the untouched capture: uneven redness, a few blemishes, blotchy tone. On the left, the same face after a frequency-separation pass — the tone is calm and even, the blemishes are gone, and the pores and fine detail are still all there. Drag the handle:
🧠 Mental Model: Two Frequencies
Any photo of skin is really two things layered together. The slow, gradual changes — the shift from cheek to shadow, a patch of redness, an uneven tan — are low frequency: tone and color. The fast, tiny changes — pores, fine hairs, the grain of the skin — are high frequency: texture.
The problem with old-school skin smoothing (a blur, a soft brush) is that it destroys both at once, which is why it looks like melted plastic. Frequency separation splits the photo onto two layers so you can fix each independently: calm the tone on the low layer, and only touch texture on the high layer. Neither edit spills into the other.
🧠 The spiral from the intro course
You built a basic frequency separation in the intro course (Module 3.2). This lesson takes it to production depth: the correct Apply Image math for 16-bit files, choosing a radius from pore size, and knowing when to dial it back so the skin stays human.
🧩 Building the Separation
You make the two layers with two duplicates of the photo. The low layer is simply blurred until the texture disappears. The high layer uses Apply Image to subtract the low layer back out, leaving pure texture on a neutral gray, set to Linear Light so the two halves add back to the original.
⚠️ Apply Image settings depend on bit depth
Apply Image subtracts the blurred Low layer itself, so the radius matches automatically; there is no second radius to enter. What must match is the bit depth. In 8-bit: Blending Subtract, Scale 2, Offset 128. In 16-bit (what this course recommends): Blending Add, Invert ticked, Scale 2, Offset 0. Use the 8-bit numbers on a 16-bit file and the stack will not add back to the original. (If you build the High layer with Filter ▸ Other ▸ High Pass instead, then use the same radius as the blur; this method is only approximate.)
🛠️ Guided Build: Retouch the Skin
Open a portrait. Do your global corrections (Module 2) first — frequency separation is a local cleanup, not a substitute for getting exposure and white balance right.
Step 1: Make the two layers · 10 min
- Duplicate the layer twice. Name the lower copy Low, the upper High.
- Hide High (click its eye) so you can see Low as you blur it. On Low: Filter ▸ Blur ▸ Gaussian Blur, raise the radius just until the pores vanish but the features stay (often 4–8 px). Remember that number.
- Show High again and select it. Image ▸ Apply Image, Layer: Low, Channel: RGB. For 16-bit: Blending Add, Invert ticked, Scale 2, Offset 0. For 8-bit: Blending Subtract, Scale 2, Offset 128. Set the High layer's blend mode to Linear Light. The image looks normal again.
Step 2: Even the tone on Low · 12 min
- Select the Low layer. With a big, soft Healing Brush (Sample: Current Layer) or a low-opacity Mixer Brush (Sample All Layers off), gently push a blotchy patch's color toward its neighbors.
- Because you are only on the color layer, texture never moves. Even out redness around the nose, blend a harsh tan line, calm a shadow that reads muddy.
Step 3: Remove blemishes on High · 10 min
- Select the High layer. With the Healing Brush (or Clone, Current Layer), sample clean texture near a blemish and heal over it.
- Only the texture changes; the underlying tone stays put, so there is no soft patch or color smear where the spot used to be.
Step 4: Dial it back · 5 min
- Group both layers and lower the group's opacity to taste — often 70–85%. Letting a little of the original show through is what keeps it human.
- Zoom to 100% and confirm real pores survive across the face. If it looks poreless, you smoothed too hard.
- Save as
skin-retouched.psd, keeping the layers. Lesson 3.2 opens this file. 🏆
✅ Project Completion Checklist
- ☐ A correct Low (blurred) + High (Linear Light) separation, with Apply Image settings matched to the bit depth
- ☐ Tone evened on the Low layer only
- ☐ Blemishes removed on the High layer only
- ☐ Group opacity pulled back so the result is believable
- ☐ Real pores visible at 100% zoom
- ☐ Layered file saved as
skin-retouched.psdfor Lesson 3.2
🧗 Now You: Solo Variation
🌟 Your challenge
- Retouch two very different faces: a close beauty shot and a candid at arm's length. Notice that the radius follows pore size in pixels: the close beauty shot usually needs a larger radius (its pores are bigger in the frame) and far more restraint.
- Deliberately over-smooth one, then rescue it by lowering group opacity and adding back texture. Feel the line where natural becomes plastic.
- Try the same fix with a plain soft brush and no separation, and compare. That comparison is your argument for ever bothering with the technique.
Going further: record the whole layer setup as an Action (you will automate this properly in Module 6) so a two-layer separation is one click.
🍳 Recipe Card: Frequency Separation
Split, fix tone, fix texture
- Duplicate twice → Low (bottom) and High (top)
- Low: Gaussian Blur until pores vanish — note the radius
- High: Apply Image from Low (16-bit: Add, Invert, Scale 2, Offset 0; 8-bit: Subtract, Scale 2, Offset 128) → blend Linear Light
- Even tone on Low with a soft heal / mixer brush (Current Layer)
- Heal blemishes on High (Current Layer)
- Group, lower opacity to ~80%, check pores at 100%, save the layered file
Mantra: fix the color and the texture separately, and neither one betrays the edit.
📓 Learning Journal
Add to your journal after this lesson:
- Key concepts you learned
- Techniques that clicked for you
- Questions or confusion points to revisit
- Ideas you want to try
- Your progress and feelings about learning this
✍️ This lesson's prompt: Look at a magazine cover and a phone-beauty-filter selfie. Both smooth skin — describe, in frequency terms, why one reads as expensive and the other as fake.
📝 Lesson Summary
🎓 Key Takeaways
- Frequency separation splits skin into low frequency (tone and color) and high frequency (texture).
- Blur the Low layer until pores vanish; build High with Apply Image using the settings for your bit depth, then set it to Linear Light.
- Even tone on Low and heal blemishes on High, each with Sample: Current Layer.
- Group, lower the opacity, and check for real pores at 100%.
🎉 What You've Accomplished
You can now clean skin without erasing it, the single most valuable retouching skill and the base every portrait edit is built on. Tone and texture are separate controls in your hands, and you know how to stop before the result turns plastic.
❓ Common Questions at This Stage
Is frequency separation still what pros use, or is it dated?
Both. Many retouchers now lean on dodge & burn for the heavy lifting and use frequency separation for targeted tone/blemish work. Knowing it makes you fluent; over-relying on it is what dates a retouch. You will meet its partner in the next lesson.
My High layer shows eyes, lips, and face shapes, not just texture.
Your blur radius was too large, so real features moved into the texture layer. Rebuild with a smaller radius on the Low layer until the High layer is mostly flat gray with only fine detail. (A High layer that is almost blank means the opposite: the radius is too small and the pores stayed on Low.)
The stack does not look like the original after Apply Image.
Check the bit depth in the title bar. The 8-bit recipe (Subtract, Offset 128) is wrong for a 16-bit file; use Add with Invert ticked, Scale 2, Offset 0 instead.
🔭 Looking Ahead
Even, clean skin can still look flat. Lesson 3.2 — Dodge & Burn Sculpting paints with light and shadow to bring the face back into three dimensions, working on the file you just saved.
✅ Before the Next Lesson
- Save
skin-retouched.psdwith its layers intact. - Retouch one more portrait at a different distance and note the radius you needed.
- Write your Learning Journal entry.
📚 Additional Resources
🌟 Encouragement for the Journey
Restraint is the hardest retouching skill, and you just practiced it. Every portrait you touch from here on benefits from knowing that tone and texture can be fixed separately. Keep your eye on the pores and you will never go plastic.